
Winterizing Your Golf Course Sprinklers
For those working at golf courses in southern Arizona, Florida or Nevada, those cooler “winter” months mark your peak season. Your preparation heading into the high season likely includes overseeding with winter grass. Meanwhile, courses located in colder regions are winding down for the year and getting ready for the crucial task of winterizing their irrigation systems.
Why winterize? Because in colder climates, the ground can freeze, anywhere from 2-4 feet deep. Water left in the pipes during freezing temps can expand, causing pipes and sprinklers heads to crack or burst.
Golf courses should winterize prior to the first hard freeze in their region – usually in November.
There are a few ways to accomplish winterization — with a manual drain, an automatic drain or “blowout.”
Some systems have automatic drain valves that active when the system is shut off, whereas a manual drain involves opening all valves and allowing the system to drain naturally. A blowout uses compressed air to fully push the water out of the pipes, valves and sprinkler heads.
For this article, we’ll focus on the blow out method.
Step By Step How to Blow Out an Irrigation System
What You’ll Need
- Air compressor (typically 185–750 CFM)
- Fuel for compressor
- Proper fittings to connect compressor to irrigation mainline
- Pressure Regulators
- Irrigation system map/zone list
- Marking Flags
- Ear Plugs – Compressors and blowing heads are extremely loud!
- Safety Glasses
- Notebook and/or mobile device to log zones and flag maintenance issues
Legwork
- Put together a complete list of the zones/stations that you’ll be blowing out and pre-determine the order.
- Prioritizing the highest elevation irrigation zones will reduce the risk of water returning to those zones as gravity will assist in water being pushed down
- It’s also recommended to prioritize zones farthest away from the compressor and to work back sequentially towards the compressor
- Make sure you have accurate drawings of the irrigation system. Highlight the location of quick coupling valves, controller locations and the areas they control.
- Identify any low-lying areas prone to water retention.
- Pre-assign crew members. To start, you should have a crew member at the compressor and assign others to monitor the active sprinkler zone(s). Someone should periodically check the pressure and fuel level, as well as look for any possible disconnections throughout the day.
- Each crew member will need a pressure gauge to check pressure at quick coupler locations and either a radio or cell phone to call the crew members.
- Notify staff and place safety signage near work areas.
- Use Flags to mark valve boxes, drain valves, any above ground backflow preventers and sprinkler heads.
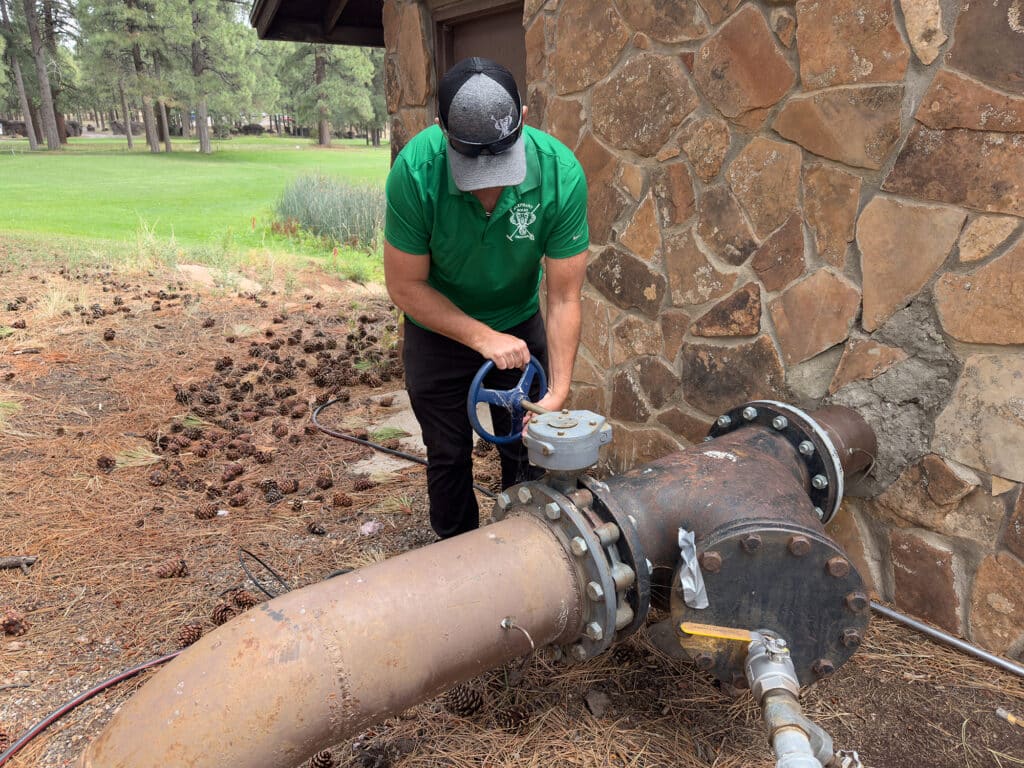
Shut Off the Water Supply
- Turn off the main water source (pump or city line).
- One or two days prior to blowout, open drain valves on backflow preventers, pump stations, and any other water-filled components.
- Ensure vacuum valves are operating and/or install quick coupler keys to allow air into the system to help drain
- Remember, even if you have a low point on the system that can drain the entire site, every head and canister will hold water in it and that’s why we continue with blowing the system out with air!
Connect Compressor
As mentioned, you’ll need an air compressor for the blowout method, with a specific CFM (Cubic Foot per Minute) rating. The ideal volume varies from course to course based on its topography and the capacity of its irrigation system. Most courses will likely be in the range of 250-300 CFM, although larger systems may require as much as 600-1,200 CFM. A formula many experts use to determine the necessary CFM is the total GPM (Gallons Per Minute) of the largest zone divided by 7.5.
It’s essential that the air pressure in the system during the blow out not exceed what the system is designed to handle as too much air pressure can damage or blow off sprinkler heads! Pressure should never exceed 50 psi for polyethylene pipe or 80 psi for PVC pipe. You should always use a regulator or valve to control air pressure prior to introducing it to the irrigation system. It’s also best practice to start out with lower pressure to prevent damage.
Use the proper fitting to connect the air compressor to the quick coupler or designated blow-out connection point. Generally, it’s best to connect at your pump station and push air away from this critical area.
Blow Out Each Zone One at a Time
Systems that require high CFM compressors can generate excessive heat, which could lead to PVC failure. You want to pump as much water out as quickly as possible so that you don’t warp your lines, but you also need to be mindful of a few factors. Be cautious about running a large number of heads at the same as this also increases heat and friction. Blowing out multiple zones at once can also reduce air volume per line and may result in water being left behind.
- Instead, open one irrigation zone/station at a time (follow the sequential order you came up with in your pre-planning phase) using the controller or manually at the valve box.
- Allow air to run until you see only a light mist coming out of the heads. This usually takes 1–2 minutes per zone, depending on the system size and compressor capacity.
- Monitor the pressure gauge, trying to maintain a steady pressure. Once a head is clear, turn it off and immediately turn on another to keep the air flowing continuously through the system
- Quick couplers should also be activated to clear them of water during this process
- Cycle through all zones
- Keep an eye on each sprinkler head for abnormal spray patterns, which might indicate damage or clogged nozzles.
Drain the Pump Station and Filters
- After zones are complete, open all low-point drains.
- Drain filters, pumps, and manifolds completely. Check for any trapped water in diaphragms, pressure regulators, or sensors.
Protect Backflow Preventers and Valves
- Open test cocks (there are usually 4) and remove water from the backflow preventer. As moisture can hide in between seals, it’s best to turn the main ball valves and test cocks to the half on, half off position. This will help avoid repairs come springtime.
Compressor Shutdown
- Slowly close the flow control valve on the compressor until the airflow stops
- Turn off the compressor.
- There will be a lot of bottled up air and that can be super dangerous so make sure you have everything opened up and that all the pressure is fully relieved from the system before disconnecting.
- Once it is safe to do so and all pressure has been relieved, disconnect the compressor.
Close Pump Station Valves & Insulate
- When you close your pump station ball and gate valves, it’s best to close it all the way down and then just barely back off. Just like the backflow preventor and test cocks, these valves can sometimes have a little bit of moisture where the seal is set, which can freeze, and then pop off and break.
- An Exception to the Back-off Rule: Unlike the other valves where you should back off slightly, you want to make sure you completely shut the main isolations from the pumps. These must be completely closed so that the main line doesn’t slowly fill over the winter
- Cover your pipes with insulation and tarps!
Final Check and Maintenance Logging
- Walk the course to inspect each zone.
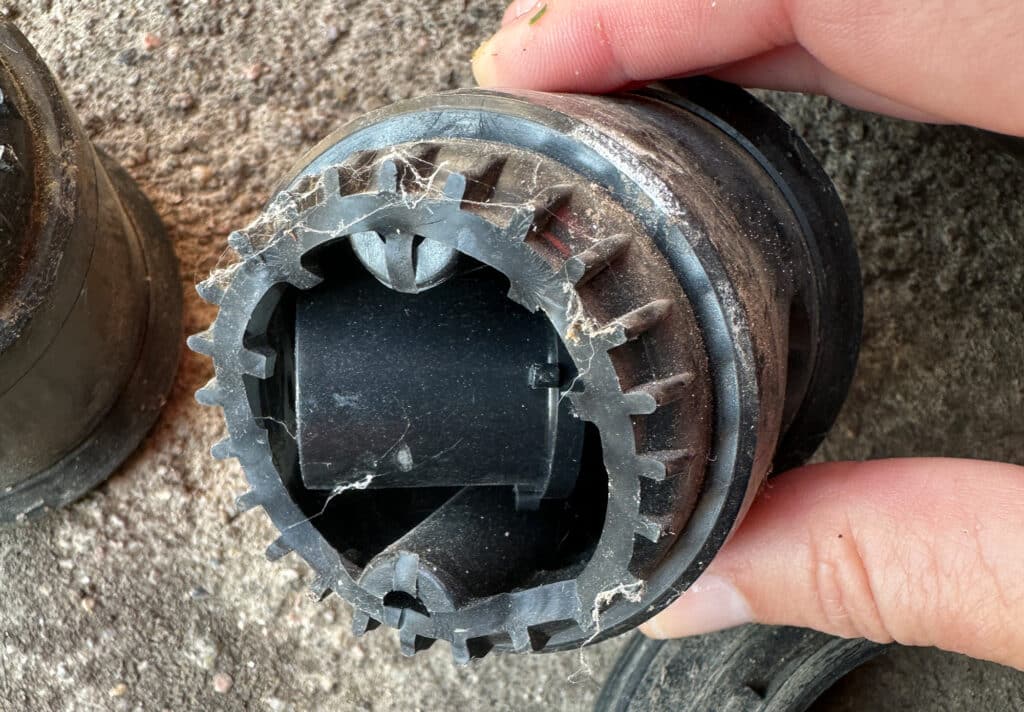
- Note any broken heads, stuck valves, or other issues for spring maintenance.
- Store your compressor and fittings properly.
If you need pressure gauges, we offer a few here. And if you wind up with busted heads, give us a call at (800) 492-8378. We have fully rebuilt Rain Bird and Toro heads that can help you save $!


